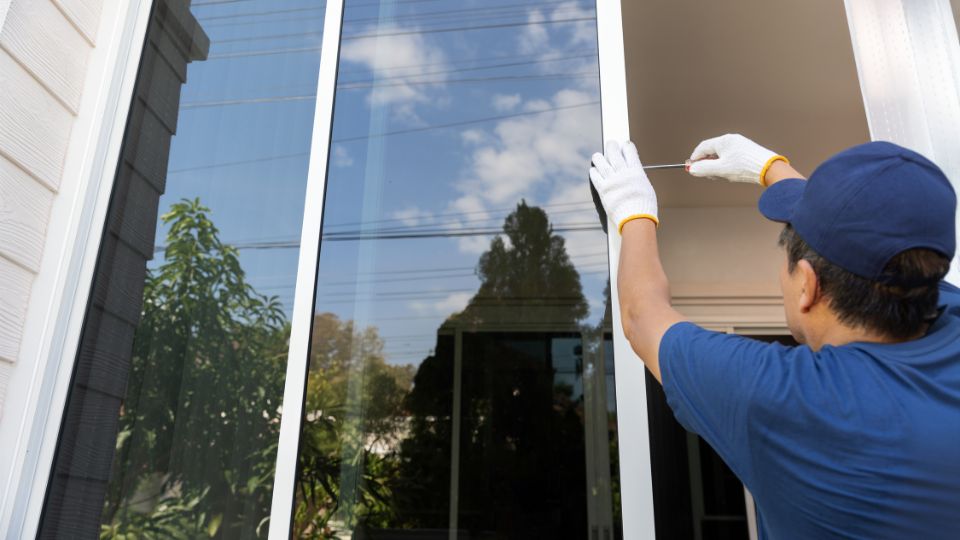
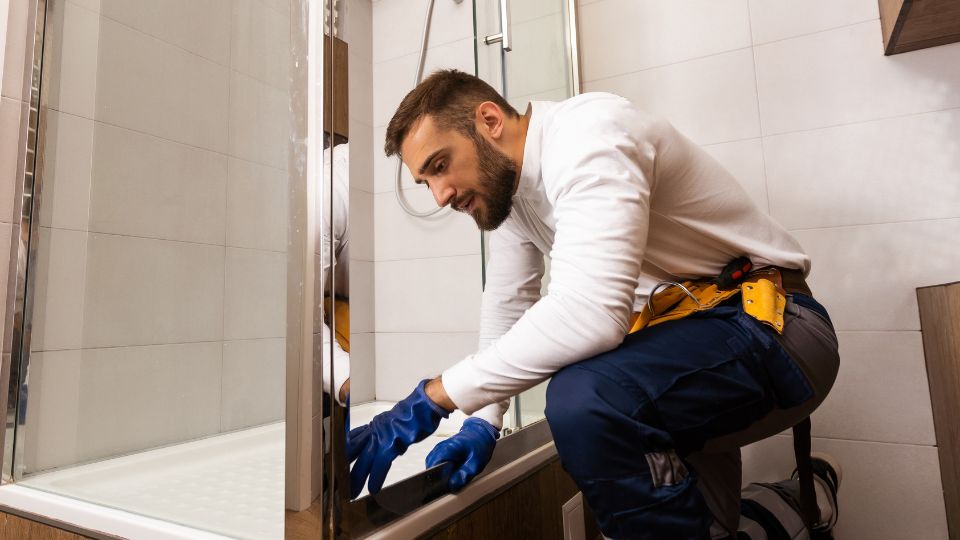
Address Glass Repair Problems with Ease and Precision
Glass plays a vital role in enhancing both the beauty and functionality of a home, offering clear views, natural light, and aesthetic appeal. However, it is not immune to damage from various sources such as accidents, wear and tear, and environmental conditions. When glass windows, doors, or fixtures become cracked, chipped, or otherwise damaged, it is important to address these issues promptly. Neglecting to repair damaged glass can lead to safety hazards and further deterioration. This guide will delve into common glass problems and offer practical, DIY solutions to help you efficiently restore and maintain your glass surfaces.
Clearing Up Foggy Glass: What You Need to Know
Foggy glass, often seen in double-pane windows, typically results from condensation between the panes due to seal failure. To address this issue, start by thoroughly cleaning the glass to remove any surface dirt or debris. If the fogginess persists, it’s usually a sign that the insulating seal has failed, allowing moisture to enter the space between the panes.
Unfortunately, DIY solutions for foggy glass are limited, as the problem generally requires professional intervention. Experts can either replace the damaged pane or reseal the unit to restore clarity and improve insulation. Regular maintenance and prompt attention to seal issues can help prevent foggy glass from occurring in the future.

Understanding Common Glass Issues
Before diving into repairs, it’s helpful to understand the types of glass issues you might encounter:
- Cracks and Chips: These are often caused by impact, temperature changes, or pressure. Cracks and chips can weaken the glass and may spread if not repaired.
- Scratches: Scratches on glass surfaces, such as mirrors or glass tables, can detract from their appearance and may be caused by abrasive cleaners or sharp objects.
- Foggy or Cloudy Glass: This usually occurs due to condensation between double-pane windows, which can affect insulation and visibility.
- Broken Glass: This can happen from accidental impacts or extreme weather conditions and requires immediate attention to ensure safety.
- Loose Glass: Sometimes, glass can become loose in its frame or mounting, which can lead to instability and potential damage.
Tools and Materials You’ll Need
To effectively tackle glass repair projects, having the right tools and materials on hand is essential. For most repairs, you’ll need a glass repair kit, which typically includes resin and an applicator for filling cracks and chips. Safety gloves and goggles are crucial for protecting yourself during the repair process. A clean microfiber cloth is necessary for cleaning the glass before and after repairs. For fixing scratches, glass polish and a soft cloth will help restore the surface. In cases of broken glass, a replacement piece, glass cutter, and silicone sealant will be required. Make sure to also have a putty knife to remove old caulk or sealant.
Proper preparation and having these tools ready will ensure that your glass repair is efficient and effective. For complex repairs, such as resizing glass or dealing with extensive damage, professional help might be needed. Always prioritize safety and follow instructions carefully for the best results in maintaining your glass surfaces.
Quick Fixes for Common Glass Issues
Repairing Cracks and Chips
Clean the cracked area thoroughly. Apply resin from a glass repair kit into the crack, ensuring it’s filled completely. Cure with UV light or sunlight, then smooth the surface with a razor blade for a clear finish.
Fixing Scratches
Clean the glass surface. Apply glass polish using a soft cloth, rubbing in a circular motion over the scratch. Continue polishing until the scratch diminishes or disappears. Rinse with water and dry with a clean cloth.
Dealing with Foggy or Cloudy Glass
Clean the glass thoroughly to remove surface dirt. If fogginess persists, it’s often due to condensation between double panes, which requires professional replacement or sealing to restore clarity and insulation.
Replacing Broken Glass
Remove broken glass carefully, wearing safety gloves. Measure and cut replacement glass to size. Install the new glass, applying fresh caulk or sealant around the edges for a secure fit. Clean the glass after installation.
Securing Loose Glass
Step-by-Step Guide to Replacing Broken Glass at Home
Inspect and remove old sealant around the loose glass. Apply silicone sealant around the edges, press the glass into place, and smooth the sealant. Allow it to cure fully to ensure a tight, stable fit.
Replacing broken glass at home involves several important steps to ensure a proper and safe installation. Begin by carefully removing the shattered glass, wearing safety gloves and goggles to protect yourself from sharp edges. Use a putty knife to scrape away any old caulk or sealant from the frame. Measure the dimensions of the broken pane and, if necessary, use a glass cutter to resize a replacement piece to fit.
Next, install the new glass into the frame, making sure it fits snugly. Apply a fresh bead of silicone sealant around the edges to secure the glass and create a weather-tight seal. Allow the sealant to cure as per the manufacturer’s instructions before handling the glass.
Tips for Preventing Glass Damage
- Handle with Care: Be cautious when moving or cleaning glass items to avoid accidental impacts.
- Use Proper Cleaners: Avoid abrasive cleaners and tools that can scratch or damage the glass surface.
- Inspect Regularly: Regularly check for signs of damage or wear on glass fixtures and windows to address issues early.
- Protect Glass: Use protective films or coatings on windows and glass surfaces to reduce the risk of scratches and damage.
How to Secure Loose Glass Fixtures Safely
Securing loose glass fixtures is essential for maintaining safety and stability in your home. Start by carefully inspecting the fixture to determine where the glass is loose. Remove any old caulk or adhesive around the edges using a putty knife. Clean the area thoroughly to ensure a smooth surface for the new sealant.
Next, apply a generous bead of silicone sealant around the edges of the glass fixture. Press the glass firmly into place, making sure it fits snugly within the frame. Smooth the sealant with a tool or your finger for an even finish. Allow the sealant to cure according to the manufacturer’s instructions to ensure a secure and lasting bond.
When to Call a Professional for Glass Repairs at Home
While many glass repairs can be tackled with DIY methods, certain situations warrant professional help to ensure safety and effectiveness. If the damage is extensive, such as large cracks or shattered panes, or if the glass is part of a structural element, a professional should handle the repair. Complex issues, such as foggy double-pane windows where condensation occurs between panes, often require specialized equipment and expertise to replace or reseal effectively.
Additionally, for custom glass installations or intricate designs, a professional ensures precise cutting and fitting. If you’re uncertain about your repair skills or face safety concerns, calling a professional can save time and prevent further damage.
Conclusion
In conclusion, addressing common glass issues promptly with the right techniques can save time and money while maintaining the safety and aesthetic of your home. From repairing cracks and chips to replacing broken panes, these tips help tackle problems efficiently. For more complex repairs or custom glass needs, Vista Glass of Tanque Verde in Tanque Verde offers expert glass repair and replacement services. Contact Vista Glass of Tanque Verde for professional solutions tailored to your needs.

